How long has it been since you cleaned the brushes in your home? Straw brushes, bathroom cleaning brushes and toilet brushes help us clean every day, and they build up a great deal of bacteria and dirt themselves. Brushes that go uncleaned for a long time accumulate bacteria and soap scum, which not only affects how well they clean but can also turn them into a hygiene blind spot in the home. This article explains in full how often to clean each kind of brush, the correct cleaning method, recommended cleaners and drying techniques, so your cleaning tools always stay in their best condition.
Why clean your brushes regularly?
Hygiene risk: a breeding ground for bacteria
Cleaning brushes are in contact with dirt, moisture and organic matter for long periods, which makes them an ideal environment for bacteria and mold to grow:
- Bacteria multiply quickly: a brush left damp for a long time without drying is the main condition for bacterial growth
- Cross-contamination: cleaning a cup with a dirty straw brush actually carries bacteria into the drinking container
- Allergens build up: mold spores can trigger allergies, asthma and other respiratory problems
- Odors develop: decaying organic matter produces a foul smell, and the brush smells worse the more it is used
Pay special attention:
- A toilet brush picks up fecal bacteria (such as E. coli) every time it is used
- A kitchen straw brush may accumulate food residue and grow salmonella
- Bathroom brushes stay damp for long periods and easily develop black mold
Cleaning performance: a dirty brush cleans far less well
Have you noticed your brush cleaning less and less well the more you use it? This is because:
| Factor | Effect on cleaning power |
|---|---|
| Dirt stuck between the filaments | The filament cannot make effective contact with the surface, so cleaning power drops |
| Filament hardened and clumped | Loss of springiness and friction, so cleaning power drops noticeably |
| Grease buildup | Dirt is transferred back onto the surface being cleaned |
| Mold attached | Produces odors and a sticky feel |
Service life: regular cleaning extends it noticeably
A brush that is regularly cleaned and cared for lasts noticeably longer:
Uncleaned brushes:
- The filament degrades, deforms and sheds quickly
- The joint between the handle and the brush head comes loose easily
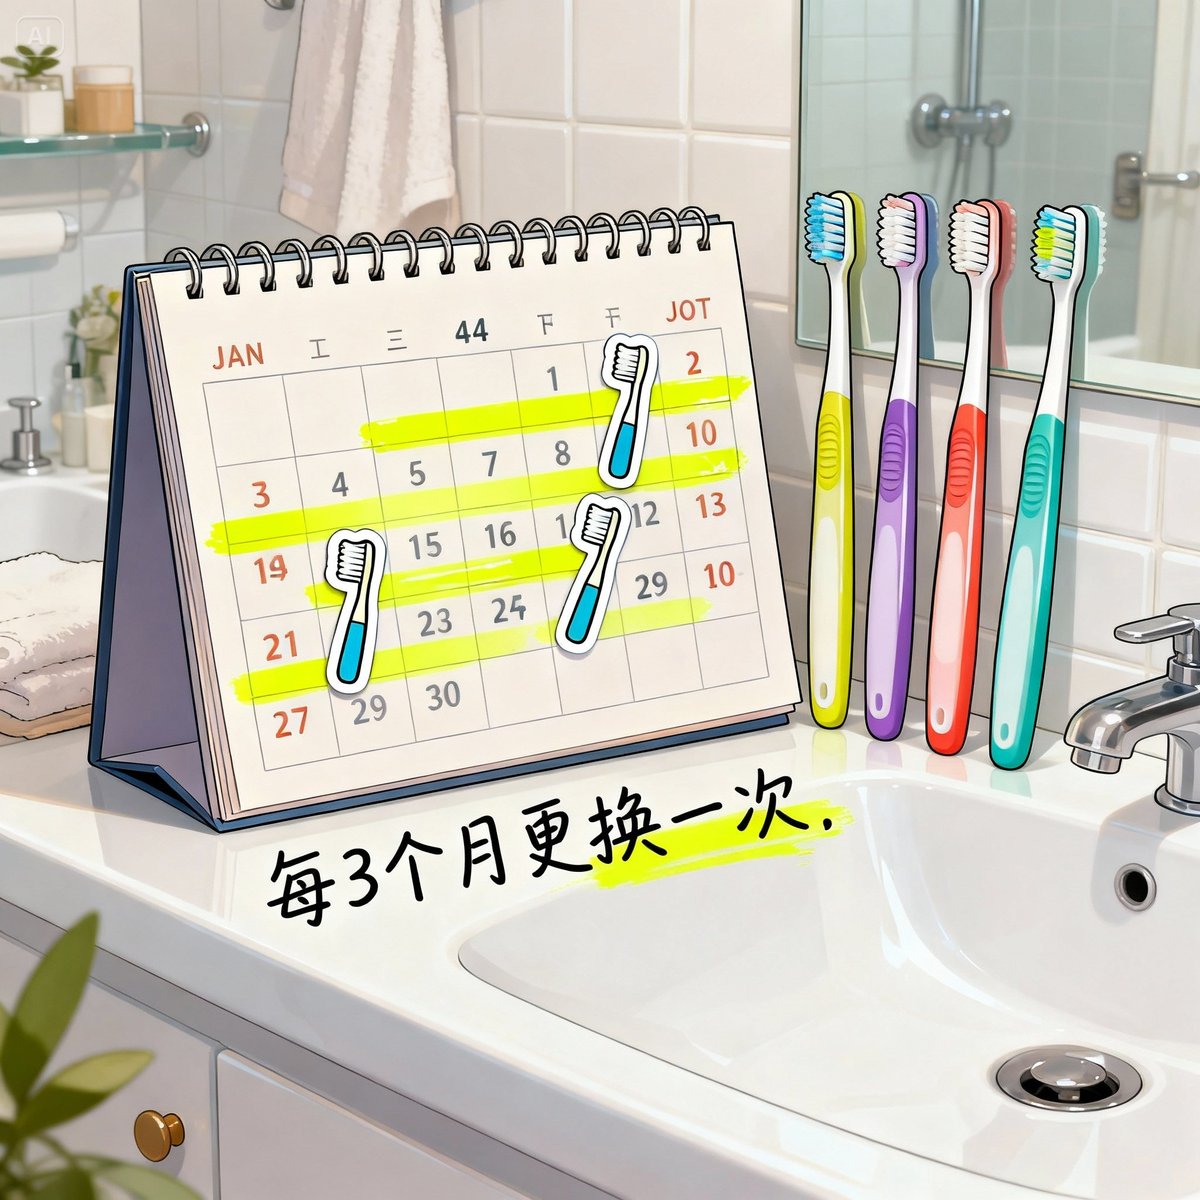
- They need replacing after 3-6 months
Regularly cleaned brushes:
- The filament keeps its springiness and resilience
- The structure stays firm and does not come loose
- They can be used for 1-2 years or more
Taking an entry-level straw brush as an example, regular cleaning noticeably lengthens the replacement cycle, which saves a good deal in replacement costs.
Cleaning frequency for different types of brush
Straw brush | After every use + a weekly deep clean
Daily cleaning (after every use):
- Rinse under running water for 30 seconds
- Shake off the excess water
- Dry with the brush head facing down
Deep cleaning (once a week):
- Soak in a cleaner for 10-15 minutes
- Scrub the roots of the filament with a small brush
- Rinse thoroughly and dry completely
Why so often? A straw brush comes into contact with drink residue (milk tea, coffee, fruit juice). These liquids contain sugar or protein, the nutrients bacteria like best, and large numbers of bacteria grow within 24 hours.
Further reading: Silicone straw brush vs nylon straw brush | A full analysis of the material differences
Electric cleaning brush | Wash the brush head after use + wipe the body weekly
Brush head cleaning (after every use):
- Remove the brush head and rinse the filament with clean water
- Check whether dirt is stuck between the filaments
- Dry with the brush head facing down, so water does not seep into the connector
Body care (once a week):
- Wipe the body with a damp cloth
- Check the charging port for dust
- Confirm the buttons and switch work normally
Deep cleaning (once a month):
- Soak the brush head in a cleaner or disinfectant for 10 minutes
- Clean the grooves of the connector with a toothbrush
- Check whether the brush head needs replacing
Precautions:
- ⚠️ The body must not be immersed or rinsed, as this damages the circuitry
- ⚠️ Refit the brush head only after it is completely dry, to avoid trapped water and rust
- ✅ Replace the brush head regularly as the manufacturer recommends (usually every 3-6 months)
Further reading: Electric cleaning brush recommendations | A full review of the popular brands
Bathroom cleaning brush | Clean right after use + a deep clean every two weeks
Daily cleaning (after every use):
- Rinse the brush head with the shower head
- Shake off the excess water and dirt
- Hang it to dry in a ventilated place (do not leave it on the damp bathroom floor)
Deep cleaning (once every 2 weeks):
- Soak in diluted bleach (1:100) for 10 minutes
- Rinse thoroughly with clean water
- Make sure it is completely dry
Why once every 2 weeks? A bathroom is damp and warm, the best environment for mold to grow. Bathroom brushes come into contact with soap residue, skin flakes, hair and limescale, and obvious dirt and mold build up within 2 weeks.
Further reading: Bathroom cleaning brush recommendations | A full review of bathroom brushes
Toilet brush | Disinfect right after use + replace every 3-6 months
Disinfection after use (after every use):
- Rinse the brush head with the shower head or toilet water
- Spray on a disinfectant (such as alcohol or bleach)
- Let it dry, then return it to the holder (the holder should have a drain hole in the bottom)
Weekly disinfection (at least once):
- Soak in diluted bleach (1:50) for 15 minutes
- Rinse thoroughly
- Make sure the holder is cleaned as well (water often collects in the bottom of the holder and smells)
When to replace it:
- The filament is clearly deformed or shedding
- There is an obvious odor or mold
- After 3-6 months of use (depending on frequency of use)
Important reminders:
- ⚠️ The toilet brush carries the most bacteria of any brush, so do not cut corners
- ⚠️ Water that collects in the bottom of the holder will smell; empty it and clean it regularly
- ✅ Consider switching to a disposable toilet brush, which is more hygienic
Further reading: Toilet cleaning brush recommendations | Disposable vs traditional, a full comparison
Air conditioner filter brush | Clean after use + dry thoroughly before storing
Cleaning after use (after every use):
- Rinse the dust out of the filament with clean water
- Shake the water off firmly
- Let it dry, then store it
Why does drying matter so much here? An air conditioner filter brush is usually not used every day (the air conditioner is only cleaned once every 2-4 weeks). If it is not completely dry before it is stored, the moisture makes the filament moldy and deformed, and the next time you use it you end up brushing mold onto the filter.
Further reading: Air conditioner cleaning brush recommendations | A filter cleaning brush guide
💡 Need a more durable cleaning brush?
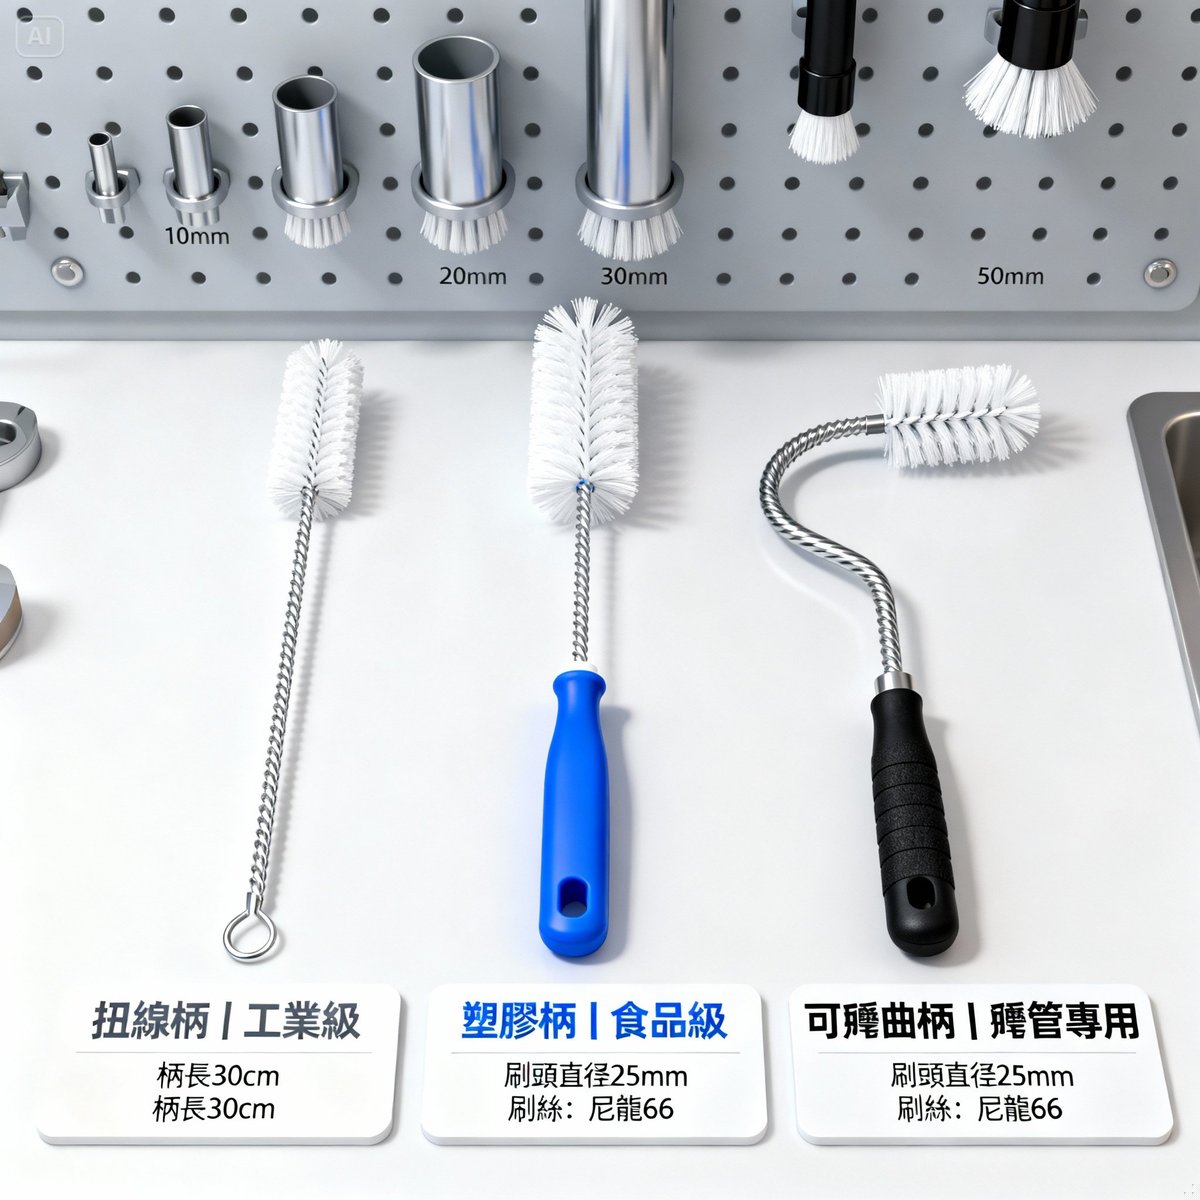
Contact YC Brushes now. We supply industrial-grade cleaning brushes with high-resilience nylon filament and a solid twisted-wire construction, with a service life 2-3 times that of ordinary brushes. Over 40 years of manufacturing experience you can rely on.
The correct way to clean a brush (4 steps)
Step 1: Initial rinse (running water for 30 seconds)
Purpose: remove large pieces of surface dirt and foreign matter
How to do it:
- Rinse the filament under running water (tap water)
- Work the filament with your fingers as you rinse, so the dirt flows out
- Make sure the roots of the filament are rinsed as well
- Rinse for at least 30 seconds
Tips:
- Do not use too strong a flow, so the filament does not deform
- Keep the brush head facing down, so the dirt runs down with the water
- For an extremely dirty brush such as a toilet brush, rinse it first with toilet water or at an outdoor tap, then carry on with the rest of the cleaning
Step 2: Soak in a cleaner (5-15 minutes)
Purpose: dissolve grease, kill bacteria and disinfect
How to do it:
- Prepare the cleaner (see the cleaner recommendations below)
- Soak the brush in the cleaner
- Adjust the soaking time to how dirty it is:
- Light dirt: 5 minutes
- Moderate dirt: 10 minutes
- Heavy dirt (toilet brushes and so on): 15 minutes
Precautions:
- ⚠️ Do not soak for more than 30 minutes, as the filament may degrade
- ⚠️ Avoid long soaks for wooden or bamboo handles, which will warp or grow mold
- ✅ If the handle is not waterproof, soak only the brush head
Choosing a cleaner:
- Daily cleaning: neutral dish soap, soapy water
- Killing bacteria and disinfecting: diluted bleach (1:100), alcohol (75%)
- Removing grease: baking soda solution
Step 3: Rinse thoroughly (until there is no foam)
Purpose: remove cleaner residue, so the chemicals do not damage the filament or touch your skin the next time you use the brush
How to do it:
- Rinse the brush under running water
- Keep rinsing until there is no foam and no smell of cleaner
- Squeeze the filament with your hand to make sure the inside is rinsed clean too
- Rinse for at least 1-2 minutes
How to check:
- Look: no foam left between the filaments
- Smell: no smell of cleaner or bleach
- Touch: the filament feels smooth, not sticky
Step 4: Dry correctly (brush head down, ventilated place, 4-8 hours)
Purpose: prevent the moisture buildup that leads to mold
How to do it:
- Shake off the excess water: shake the brush firmly 10-20 times so the water droplets fly off
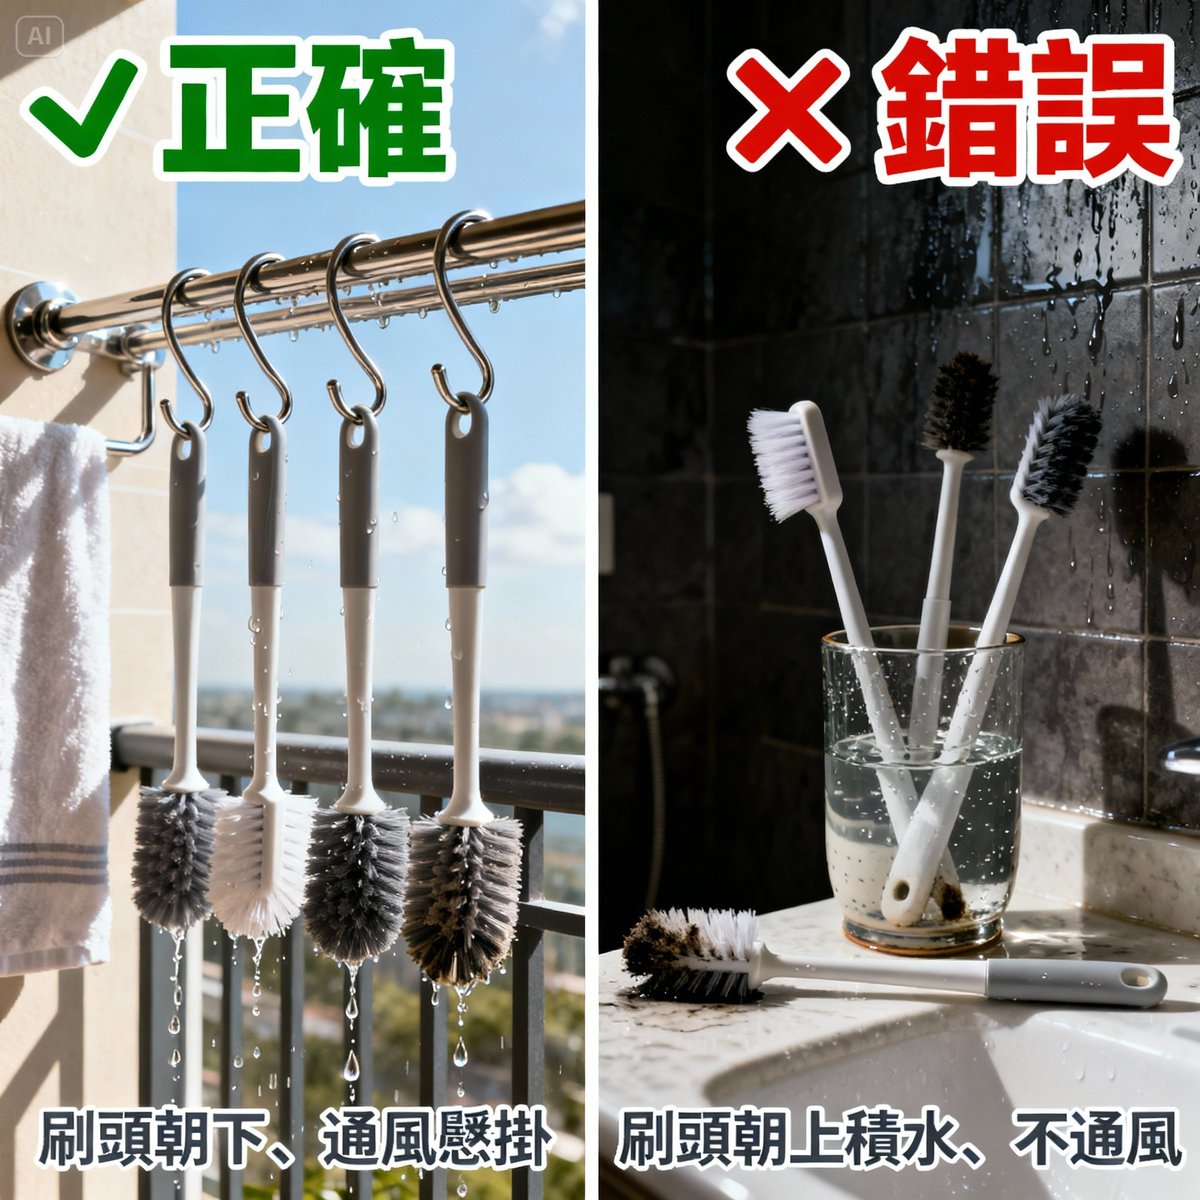
- Hang it with the brush head facing down: let the water drip down naturally, so it does not collect at the roots of the filament or where the handle joins the head
- Dry it in a ventilated place: put it on the balcony, by a window or somewhere well ventilated
- Store it only when completely dry: at least 4-8 hours, making sure the filament and the handle joint are completely dry
Drying tips:
- ✅ Hang the brush with a hook or a clothes peg (brush head facing down)
- ✅ If you have a dehumidifier at home, you can dry it next to the dehumidifier
- ✅ Direct sunlight helps kill bacteria, but do not leave it in the sun too long (the filament may degrade)
- ❌ Do not use a hair dryer or clothes dryer; high heat damages the filament
- ❌ Do not lay it flat or stand it with the brush head up; water will collect at the roots of the filament
A common mistake: If you stand a brush in a cup to dry with the brush head up, water collects where the handle joins the head, and over time the handle tends to come loose.

Recommended brush cleaners
Common cleaner choices
Everyday cleaning products you already have at home can clean brushes effectively:
1. Neutral dish soap | The first choice for daily cleaning
Price: budget to mid-price (500ml)
How to use it:
- Dilution ratio: 1:10 (1 part dish soap + 10 parts water)
- Soak for 5-10 minutes
- Rinse thoroughly
Advantages:
- ✅ Mild, does not damage the filament
- ✅ Good at removing grease
- ✅ A household staple, always at hand
- ✅ Safe and non-toxic
Disadvantages:
- ❌ Only average antibacterial effect
- ❌ Not suited to heavy dirt
Suitable for: daily cleaning of straw brushes, kitchen brushes and bathroom brushes
2. Baking soda | A wonder for removing dirt and odors
Price: budget price (500g)
How to use it:
- Dilution ratio: 2 tablespoons of baking soda + 500ml of warm water
- Soak for 10-15 minutes
- Rinse thoroughly
Advantages:
- ✅ Natural and environmentally friendly
- ✅ Excellent at removing odors
- ✅ Mild, gentle on the hands
- ✅ Removes tea stains and coffee stains
Disadvantages:
- ❌ Moderate antibacterial effect
- ❌ Only average on grease
Suitable for: brushes with odors, such as straw brushes and bottle brushes
3. White vinegar | A natural disinfectant
Price: budget price (600ml)
How to use it:
- Dilution ratio: 1:5 (1 part white vinegar + 5 parts water)
- Soak for 10-15 minutes
- Rinse thoroughly (until there is no vinegar smell)
Advantages:
- ✅ Natural antibacterial effect
- ✅ Removes limescale and odors
- ✅ Environmentally friendly and non-toxic
- ✅ Inexpensive
Disadvantages:
- ❌ A strong smell (needs thorough rinsing)
- ❌ Not suited to metal handles (may corrode them)
Suitable for: brushes that need limescale removed, such as bathroom brushes and air conditioner filter brushes
4. Diluted bleach | Powerful disinfection
Price: budget price (2000ml)
How to use it:
- Dilution ratio: 1:100 (daily cleaning) or 1:50 (heavy disinfection)
- Soak for 10-15 minutes
- Rinse thoroughly (at least 2 minutes under running water)
Advantages:
- ✅ Strong antibacterial effect
- ✅ Cheap and comes in large bottles
- ✅ Good at removing mold
Disadvantages:
- ❌ Highly irritating; gloves are needed
- ❌ May bleach colored filament
- ❌ Not environmentally friendly
- ❌ Must be rinsed off thoroughly; residue damages the filament
Suitable for: heavily contaminated brushes such as toilet brushes and bathroom brushes
Precautions:
- ⚠️ Keep the area ventilated during use
- ⚠️ Do not mix it with other cleaners (this produces toxic gas)
- ⚠️ Wear gloves and avoid skin contact
Which cleaner to choose
| Brush type | Daily cleaning | Deep cleaning / disinfection |
|---|---|---|
| Straw brush | Dish soap | Baking soda, white vinegar |
| Bathroom brush | Dish soap | Diluted bleach, white vinegar |
| Toilet brush | Diluted bleach | Diluted bleach (higher concentration) |
| Electric cleaning brush head | Dish soap | 75% alcohol spray |
| Air conditioner filter brush | Clean water + dish soap | Baking soda |
Tips for drying and storing brushes
Drying tips
The best way: hang to dry
- Use an S-hook to hang the brush on the bathroom towel rail or the balcony drying rack
- Keep the brush head facing down so the water drips off naturally
- Keep the air moving to speed up drying
Alternatives:
- Rest it at an angle on a draining rack (brush head down, handle leaning on the edge)
- Use a dedicated brush draining rack
- Clip it with a clothes peg (suits small brushes)
Avoid:
- ❌ Standing it upright in a cup or container (with the brush head up, water collects)
- ❌ Laying it flat on a damp surface (the underside gets no air and grows mold)
- ❌ Putting it in an enclosed space (such as inside a cabinet, where moisture cannot escape)
Storage tips
Long-term storage (brushes not used often):
- Make sure it is 100% dry (drying for 24 hours is recommended)
- Wrap the brush head in a paper towel or cloth to absorb any remaining moisture
- Put it in a sealed bag or storage box
- Keep it somewhere dry and ventilated
- Take it out and check it once every 3-6 months
Everyday storage (frequently used brushes):
- No need to put them away; just hang them near where they are used
- For example: the straw brush hung beside the kitchen sink, the bathroom brush hung in a corner of the bathroom
- Keep them ventilated and dry, ready to use at any time
Choosing where to store them:
- ✅ A well-ventilated balcony or window side
- ✅ The kitchen wall (with hooks fitted)
- ✅ The dry zone of the bathroom (away from the shower area)
- ❌ The wet zone of the bathroom (too much moisture)
- ❌ A closed cabinet (no ventilation)
- ❌ A dark corner (mold grows easily)
Professional advice from YC Brushes
As a professional brush factory with over 40 years of manufacturing experience, we have the following advice on cleaning and caring for brushes:
Key care points for twisted-wire brushes
Many industrial-grade brushes (such as straw brushes and tube brushes) use twisted-wire construction, in which the filament is held firmly to the handle by twisted metal wire. This structure is strong and durable, but take care when cleaning:
Avoid long soaks:
- The twisted wire is usually stainless steel or galvanized steel wire, and a long soak (more than 30 minutes) may cause the twisted wire to loosen
- Soaking for 10-15 minutes is enough; do not leave it overnight
Dry thoroughly:
- Water collects easily where the twisted wire meets the filament, so be sure to shake it dry and air-dry it
- If that area stays damp for long periods, the twisted wire loosens and the filament falls out
Avoid high temperatures:
- Do not wash with hot water (above 60°C), which may deform the filament
- Do not dry with a hair dryer or clothes dryer
How care differs by filament material
Nylon filament:
- Resistant to acids, alkalis and wear; any kind of cleaner can be used
- Avoid long exposure to the sun, which makes it brittle
- With regular cleaning it can be used for 2 years or more
Silicone filament:
- Dirt does not stick easily, so cleaning is simple
- Avoid strong acids and strong alkalis (such as concentrated bleach)
- Not affected by high temperatures; can be washed with warm water
Natural bristle brushes (hog bristle and so on):
- More fragile; a mild cleaner is recommended
- Avoid twisting them with too much force
- They take longer to dry and need more patience
Judging when to replace a brush
Even with regular cleaning a brush has a limited life. Replace it in the following cases:
Must be replaced:
- More than 10% of the filament has fallen out
- The filament is clearly deformed or bent and has lost its springiness
- There is obvious mold or an odor that cannot be removed
- The handle is loose or broken
- The roots of the filament have turned black or moldy
Replacement recommended:
- It has been used beyond the recommended period (which differs by brush type)
- Cleaning power has dropped noticeably
- The filament has become hard and prickly
Typical service life (assuming regular cleaning and care):
- Straw brush: 1-2 years
- Bathroom brush: 1-1.5 years
- Toilet brush: 3-6 months
- Electric cleaning brush head: 3-6 months
- Air conditioner filter brush: 2-3 years
Custom service from YC Brushes
If you need:
- More durable industrial-grade cleaning brushes
- Brushes in special materials or to special specifications
- Volume purchasing for a restaurant business or cleaning company
You are welcome to contact YC Brushes. We offer custom design and manufacturing, building the brush that best fits your application. See the full product range or learn about our custom service.
FAQ
Q1: Do brushes have to be cleaned with a cleaner? Can I use water only?
A: It depends on how dirty the brush is and how often it is used.
When water alone is fine:
- It is washed immediately after every use
- The dirt is not serious (for example, it only cleans cups used for plain water)
- The brush has a simple use (for example, a dedicated straw brush used only for one kind of drink)
When a cleaner is needed:
- It has not been cleaned for a long time (more than 1 week)
- There is grease or protein residue (milk tea, coffee)
- There is an obvious odor or mold
- Deep cleaning (once a week or once a month)
Suggested practice:
- Rinse with clean water after everyday use
- Deep-clean with a cleaner once a week
- For heavily contaminated brushes such as toilet brushes, use a disinfectant after every use
Q2: Can brushes be washed in a dishwasher?
A: It depends on the brush material; for most it is not recommended.
Not recommended for the dishwasher:
- Wooden and bamboo handles (they warp and crack)
- Electric cleaning brush heads (high heat may damage the connecting mechanism)
- Twisted-wire brushes (high heat and strong water jets may loosen them)
- Toilet brushes (for hygiene reasons, do not wash them with tableware)
Can go in the dishwasher:
- All-silicone straw brushes (resistant to high heat and strong water jets)
- Cleaning brushes with plastic handles (check the heat-resistance temperature)
The right way:
- If you really want to use the dishwasher, put the brush on the upper rack and choose a low-temperature program
- Take it out as soon as the wash finishes and dry it with the brush head facing down
- Hand washing is still the safest way
Q3: Can a moldy brush still be used? What should I do with it?
A: Light mold can be rescued; with heavy mold, we suggest throwing the brush away.
Light mold (a few black spots on the surface):
- Soak in diluted bleach (1:50) for 15 minutes
- Scrub the moldy areas with a small brush
- Rinse thoroughly and dry completely
- If the mold is gone, the brush can go on being used
Heavy mold (large black areas, with an odor):
- We suggest simply throwing it away and replacing it
- The mold spores may already have penetrated deep into the filament and are hard to remove completely
- Continuing to use it may affect your health (allergies, respiratory problems)
Preventing mold:
- Wash and dry the brush right after use
- Hang it with the brush head facing down and keep it ventilated
- Do not keep it in a damp, enclosed space
Q4: The filament on my straw brush gets shorter the longer I use it. Is that normal?
A: It is not normal. The cause may be incorrect use or a quality problem.
Why filament gets shorter:
- Excessive friction: scrubbing back and forth inside the straw too hard or too often
- Improper cleaning: cleaning with strong acids or alkalis, which corrode the filament
- Heat damage: washing with hot water (above 60°C)
- Poor quality: the filament is not held securely and falls out under friction
The right way to use it:
- Rotate it gently as you scrub, without too much force
- Wash with room-temperature or warm water (30-40°C)
- Choose a good-quality brush (twisted-wire construction, dense filament)
How to judge quality:
- Pull gently on the filament; it should not come out easily
- The filament should be springy and not deform easily
- The wire should be tightly twisted, with the roots of the filament held firmly
Q5: Can brushes be disinfected with alcohol?
A: Yes, but pay attention to the concentration and the material.
Brushes suited to alcohol disinfection:
- Electric cleaning brush heads (they cannot be immersed, so an alcohol spray is the best fit)
- Silicone straw brushes
- Cleaning brushes with nylon filament
Alcohol concentration:
- 75% alcohol has the best antibacterial effect
- 95% alcohol evaporates too fast and works less well
- Below 60% the antibacterial effect is insufficient
How to use it:
- First wash off the dirt with clean water
- Spray with or soak in 75% alcohol
- Leave for 30 seconds - 1 minute
- No need to rinse; let the alcohol evaporate naturally
- Once dry, it is ready to use
Precautions:
- ⚠️ Alcohol is flammable; keep it away from flames
- ⚠️ Long-term soaking in alcohol is not recommended, as it may make the filament brittle
- ⚠️ Avoid alcohol on wooden handles; it dries out and cracks the wood
Q6: Is it more hygienic to buy several brushes and use them in rotation?
A: Not necessarily. What matters is cleaning and drying, not the number of brushes.
Advantages of rotating brushes:
- ✅ Each brush has more time to dry completely
- ✅ Each individual brush lasts longer
- ✅ Suits multi-purpose needs (different brushes for different items)
Disadvantages of rotating brushes:
- ❌ If none of them is cleaned properly, you simply have several breeding grounds for bacteria
- ❌ More storage space is needed
- ❌ It is easy to forget that one has not been used for a long time (and it grows mold)
The right way:
- If you really do wash it right after use and dry it completely, 1 brush is enough
- If the household is large and the brush is used often, you can keep 2 and rotate them
- Brushes for different purposes should be kept separate (for example, the kitchen straw brush and the bathroom brushes)

Further reading
Want to learn more about choosing and using cleaning brushes? We recommend:
- Straw brush recommendations | 9 straw brushes reviewed, with buying criteria: how to choose a straw brush that is easy to clean and durable
- Are electric cleaning brushes worth it? | Pros, cons and what to avoid: electric cleaning brushes need regular cleaning and care too
- Bathroom cleaning brush recommendations | A full review of bathroom brushes: bathrooms are damp, so the brushes there need cleaning all the more often
For more about cleaning brushes, see our complete cleaning brush buying guide.
Summary: clean your brushes regularly for a longer life and better hygiene
Cleaning your brushes is not only a matter of hygiene; it also affects how well they clean and how long they last. A brush that is regularly cleaned and cared for lasts longer, which saves money and is better for the environment.
Key points:
- Cleaning frequency: it differs by brush type, from after every use to once every 2 weeks
- The correct method: rinse → soak → rinse clean → dry (brush head facing down)
- Choice of cleaner: neutral dish soap for daily use; baking soda, white vinegar or diluted bleach for deep cleaning
- The key technique: store only when completely dry, to prevent mold
Starting today, make a habit of cleaning your brushes, so your cleaning tools always stay in their best condition!
Need professional brushes that are more durable and easier to clean? YC Brushes supplies industrial-grade cleaning brushes and a custom service, backed by over 40 years of manufacturing experience you can rely on. Contact us now to find out more, or see the full product range.
Want to learn more about cleaning and maintenance? Go to the blog to explore more specialist articles.